Hey there! Let’s fix those pesky mascara smudges
Oh no, mascara smudges. We’ve all been there. It may seem like a small problem, but it can really affect your overall look. That’s why I’m here to share some expert tips on how to easily clean mascara smudges under your eyes!
First things first, let’s talk about why it’s important to clean those smudges. Not only does it give a messy and unpolished look, but it can also cause irritation or even an infection in your eyes. So, it’s important to clean them up right away!
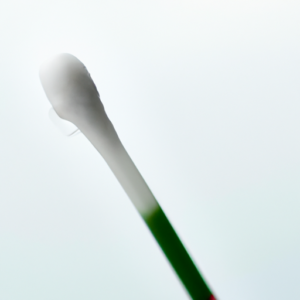
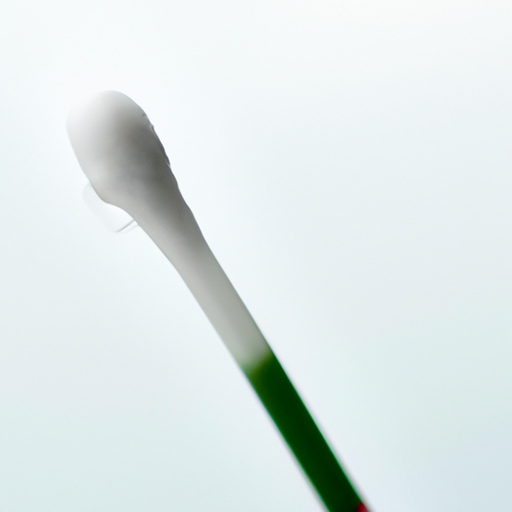
Now, let’s move on to step one and gather our supplies. For this, you’ll need a Q-tip and some makeup remover.
Ready to learn more? Check out this link for more expert advice. Let’s get started!
Step 1: Gather Supplies: Let’s Get This Party Started!
Alright, folks, let’s get down to business! The first step to cleaning up those pesky mascara smudges is to gather our supplies. In my experience, the two most important things you need are Q-tips and makeup remover. Trust me, I’ve tried using tissues and cotton balls, but they just don’t do the trick!

Now, you might be wondering: “Why do I need Q-tips? Can’t I just use my fingers?” Well, my friend, using your fingers can actually make things worse. Your fingers have natural oils on them that can smudge the mascara even more. The precision and absorbency of the Q-tip make it the perfect tool for this job.
As for the makeup remover, that’s pretty straightforward. Just make sure you have a bottle handy before you start cleaning. I’ve made the mistake of starting the process without it and had to scramble to find some halfway through. Don’t be like me.
So, let’s recap: Q-tips and makeup remover. Got it? Great! Now, let’s move on to step two.
Step 2: Wet the Q-tip
Alright, time to get to work! Grab that trusty Q-tip and let’s get it wet. Dip it into your favourite makeup remover and make sure it’s fully saturated. Now, don’t be too heavy-handed with the remover. You want enough to get the job done, but not so much that it’s dripping everywhere. We want to tackle those smudges, not create a bigger mess! Once you have a good amount on the Q-tip, it’s time to move on to the next step. Remember, this is just the beginning, but you’re off to a great start!
Smear it Clean: Step 3 to Cleaning Mascara Smudges
Okay, now that you have wet the Q-tip, it’s time to tackle the smudged area. So, here comes the real action! Hold the Q-tip perpendicular to the skin and gently press it into the smudged area. Don’t apply too much pressure as it can remove your fresh makeup and leave a mess. Start at the outer edge of the smudge and work your way inward. This way, you won’t push the product further into your skin.
Make sure that you are using a new and clean Q-tip for each application. If the smudge is large, you may need to use several Q-tips to avoid spreading the smudge to other parts of your face. You can also flip the Q-tip over and use the clean side to remove the smudge further or to clean up any remaining residue. Remember, don’t rub the smudge aggressively as it can irritate and redden the delicate skin under your eyes.
If you are dealing with a waterproof mascara, you can hold the Q-tip on the smudge for a few seconds before gently wiping it away. This gives the makeup remover a chance to break down the product for easier removal.
Don’t forget to clean up any smudges on your eyelids or brow bone while you’re at it. This can happen when applying mascara or when cleaning up the smudge under your eyes. Keep your eyes closed and press your free hand over your eyelids and brow bone as this will help steady your movement and prevent new smudges.
Ah, now that you have removed the smudge, you can see how good the area looks, right! Now move to the next step and complete the process of cleaning mascara smudges under eyes.
Step 4: Remove Excess Product!
Now that you’ve applied makeup remover to the smudged area with a Q-tip, it’s time to remove any excess product. You want to make sure that you’re not leaving behind any makeup residue, or it could just create another smudge. So, take the same Q-tip you used before and gently wipe away any makeup that hasn’t dissolved. Be sure to use a light touch- you want to remove just the excess makeup, not any of the makeup that you intended to stay on. It’s important to be gentle when cleaning up excess mascara because rubbing too hard can actually irritate the skin around your eyes. And that’s the last thing you want! So, take your time and be patient as you work to remove any excess mascara. If you’re having trouble removing any stubborn makeup, don’t stress! Just dip the Q-tip back into the makeup remover and try again. Once you’ve removed all the excess product, take a quick look in the mirror to make sure that you didn’t accidentally smudge any other parts of your makeup. This is also a good time to check your mascara and see if you need to reapply any areas that you cleaned up. Don’t forget to take a deep breath and relax- you’re almost done!
Step 5: Touch Up – Let’s Make It Perfect!
Alright, we made it to the final step! If necessary, go ahead and reapply a coat of mascara to your top and bottom lashes. Remember to keep it light and natural-looking, and make sure to brush out any clumps or excess product with a lash comb or clean mascara wand.
If you have any remaining smudges or residue under your eyes, use a fresh Q-tip with a small amount of makeup remover to clean up any remaining marks. Be gentle and precise as you clean, and avoid rubbing or tugging at your delicate under-eye skin.
If you’re happy with the final result, great job! Take a moment to admire your clean, defined eyes. If you’re not completely satisfied, don’t worry – practice makes perfect, and you’ll have plenty of opportunities to perfect your mascara application technique.
Remember, taking the time to remove smudges and excess mascara is essential for achieving a flawless makeup look. With these easy steps, you’ll be able to clean up any mistakes quickly and easily, leaving you with beautiful, defined eyes that are sure to turn heads.
My Pro Tips for Quick Cleanup of Mascara Smudges Under the Eyes
And, voila! You are now a pro at cleaning those pesky mascara smudges under your eyes! Trust me; it’s a lifesaver. You want to avoid looking like a raccoon, don’t you? Cleaning off mascara smudges under the eyes is something that comes in handy, especially on rushed days when we have to hurry out the door.
Remember to have some q-tips and makeup remover handy for efficient cleanup. With these simple steps, you can now eliminate those tiny under-eye smudges quickly and efficiently. It’s all about dipping the q-tip into the makeup, applying it to the smudged area, wiping away excess product and if needed, touching up with a new coat of mascara. With consistent practice, you’ll be an expert at it in no time.
Lastly, but most importantly, do not stress over a little smudge. It is entirely normal for these things to happen, and removing them is quick and easy. Try not to make the mistake of wiping it off with just your fingers as that might smear the smudge and create a messier result.
So, go ahead, give it a try, and hopefully, with a little practice, you’ll master the art of quickly and easily cleaning mascara smudges under your eyes in no time!
