Come Bat Your Lashes with Me: A Guide to Applying and Reusing False Lashes
What’s up, lash lovers? I’m here to give you the 411 on false lashes. If you’re like me and find yourself longing for a luscious lash look but can’t quite achieve it with mascara alone, false lashes are the answer to your prayers. These babies are strips of synthetic or natural hair that enhance the length, volume, and curl of your natural lashes. Trust me when I say that you won’t be able to go back to your mascara-only days after trying false lashes. Not only do they up your glam game, but they’re also eco-friendly since you can reuse them multiple times. Let me show you how to properly apply and reuse false lashes like a pro!
Get Your Lashes Ready: Steps for Preparing Your Lashes
Before putting on your favorite pair of false lashes, make sure your natural lashes are clean and trimmed to achieve a flawless look. Let me guide you through the necessary steps for preparing your lashes!
First things first, clean your natural lashes to ensure a smooth base for your false lashes. I use a gentle cleanser to remove any dirt or oil that may be on my lashes. Be sure to wash your face thoroughly before cleansing your lashes.
Next, trim your false lashes to fit the shape of your eyes. Hold the lashes up to your natural lashes and trim any excess on the outer corners for a comfortable fit. This prevents the lashes from poking or irritating the corners of your eyes. Remember to always trim from the outer edge of the lashes to retain their natural length.
By preparing your lashes correctly, you guarantee a hassle-free and lasting application of your favorite pair of false lashes. Now that we have your lashes all set, let’s move on to the next step in applying your false lashes.
How to Apply False Lashes Like a Pro
Okay, so you’ve got your lashes ready to go, but how do you actually apply them without looking like a hot mess? I’ve got you covered! Here are some essential tips for applying false lashes like a pro.

First things first, you need to select the right adhesive for your lashes. Personally, I prefer using a clear glue because it dries transparent and doesn’t leave any residue. You also want to make sure that the adhesive you choose is specifically designed for false lashes, as using regular glue can be harmful to your skin and eyes.
Placing the False Lash Strip
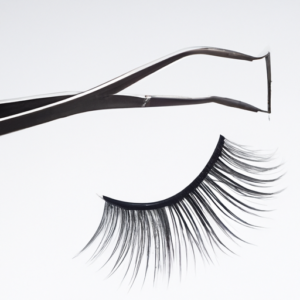
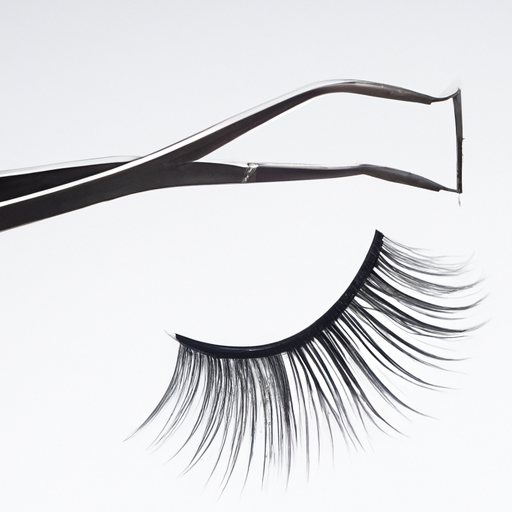
Once you have your adhesive ready, gently place the false lash strip on top of your natural lashes. Start by placing the strip in the middle of your lash line and then press the ends down into place. If you need to adjust the position of the lash, use a pair of tweezers to do so. You want to make sure that the false lash strip is as close to your natural lash line as possible for a seamless look.
Tweezing the Lashes in Place
Using a pair of tweezers, carefully press down on the false lashes to secure them in place. Start in the middle of the lash strip and then work your way towards the outer corners. To make sure that the lashes blend seamlessly with your natural lashes, use your fingers to gently press down on them once you’re finished applying them.
So there you have it, my top tips for applying false lashes like a pro! But don’t forget, if you plan on reusing your false lashes, it’s important to properly clean them and store them in their original packaging. Check out this helpful guide from EyelashesHolic for more information on how to do that.
Ready to Reuse: Making the Most Out of Your False Lashes
So, you’ve fallen in love with your false lashes, and you’re not ready to toss them out after a single use? That’s a smart decision! Proper care and storage of your lashes can help you get the most out of your investment. Here are some essential tips:
Cleaning the Lashes After Every Use
Proper cleaning is a must if you want to reuse your false lashes. Start by applying makeup remover or micellar water to a cotton swab or pad. Then, gently swipe the lashes to remove any remaining glue, mascara, or eyeliner. You can also use tweezers to remove any stubborn glue. Be mindful not to tug too hard or pull the lashes apart during cleaning.
Storing the Lashes in Their Original Packaging
Avoid throwing your lashes in a random drawer or makeup bag to avoid misplacing or damaging them. Instead, store them in their original packaging to keep them protected from dirt, dust, and other potentially harmful elements. The packaging is designed to keep the lashes’ shape, keeping them ready to use anytime you need them.
Replacing the Lash Adhesive When Necessary
Before reapplying false lashes, double-check the adhesive to see if it needs to be replaced. Old adhesives can lose their bonding strength and cause the lashes to fall off quickly. If the adhesive looks dry, crusty, or separated, it’s time to replace it. When applying new adhesive, remember to apply it sparingly, running a thin line along the lash strip’s base.
By following these simple steps, you can help your false lashes last longer and save money over time. While it may take some extra effort to clean and store, these tips will pay off in the long run, helping you maintain a beautiful, fluttery set of lashes for many wears to come.
Wrap it Up: Essential Tips for False Lash Application and Reuse
Well, folks, we’ve come to the end of our false lash journey! Here are the key takeaways that nailed my lash game:
First and foremost, preparing your natural lashes is crucial. Clean them well so your falsies can beless easily displaced. Keep the right length through trimming them to better shape with a pair of scissors to make certain the falsies match your eyes correctly.
To ensure a secure grip, try a different adhesive depending on your budget and lash experience. Apply the lash strip on top of your natural ones and adjust with tweezers. Of course, reusing your falsies is the green way to go, so keep them intact by regularly cleaning them and storing them in their original container.
Finally, there’s no ham in replacing your adhesive as you see fit. Whether you’re a lash novice or a seasoned pro, with these tips, now you can confidently slay those dramatic, fluttery lashes every time.
