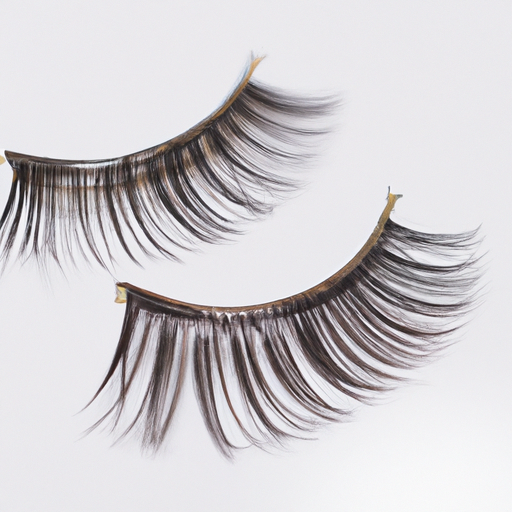
0mg!! Get glam in no time with these fab false lash hacks!
Hey girls, are you ready to add some wow factor to your eye makeup routine? Whether you’re getting ready for a night out with the girls or simply want to upgrade your daytime look, false lashes are a quick and easy way to transform your lashes from drab to fab. But if you’re new to the world of falsies, don’t worry – I’m here to give you the inside scoop on how to apply false lashes like a pro. So, grab your lash glue and let’s get started!
What You’ll Need for Killer Lashes
Hey y’all, it’s time to talk about the essentials for achieving those perfect, show-stopping lashes you’ve been dreaming of. Before you start, gather these materials:
- False lashes
- Tweezers or lash applicator
- Eyelash glue
- Small scissors or lash trimmer
- Mirror
- Mascara (optional)
Now that you’ve got everything in front of you, you’re ready to begin the application process.
Preparing Your Lashes: Get ‘Em Ready!
Welcome to the lash game, ladies! Before we dive into the actual application process, let’s talk about a crucial step: prepping those beautiful lashes of yours. This is an essential step that many people overlook, but it truly makes a difference when it comes to the overall look and longevity of your false lashes.
Start off by making sure your natural lashes are clean and dry. You can use a gentle cleanser, or micellar water, to remove any excess oil or makeup. Next, I like to curl my lashes to give them a little bit of lift. This step helps blend your natural lashes with the falsies for a more natural result.
Now, this next step may seem a little counterintuitive, but trust me on this one. You’ll want to apply a thin layer of mascara to your natural lashes. This creates a base for the false lashes to adhere to, making them stay put longer. However, make sure to use a light hand and only apply one coat.

Lastly, use a pair of tweezers to carefully remove the false lashes from their package. This will ensure you don’t accidentally damage or bend them. Gently shape them by bending them back and forth a few times, this will help them fit the shape of your eye better.
Remember, taking the time to prep your lashes properly will make your false lashes look better and last longer. So don’t skip this step, trust me, your lashes will thank you!
4. Applying False Lashes: Time to Get Lashy!
Okay, ladies, this is the moment we’ve all been waiting for. It’s time to apply those gorgeous false lashes and give your eyes the attention they deserve! First things first, make sure your hands are clean and dry. You don’t want any oils or products on your fingers to mess with the lash adhesive.
Next, carefully remove the lashes from their tray using tweezers. Gently bend the lashes to mold them to the curve of your natural lash line. This will make them easier to apply and more comfortable to wear. Place a small amount of lash adhesive on the back of your hand or a disposable surface and use the tip of the tweezers to apply a thin, even layer to the lash band. It’s essential to let the glue dry for about 30 seconds before placing the lashes on your lid. Waiting will ensure that the lashes won’t slide around while you’re trying to apply them.
To apply the lash, use the tweezers to hold the lash from the center. Look down into a mirror and gently place the lash as close to your natural lash line as possible. Once the center of the lash is in place, use the tweezers to secure the corners of the lash. Use your fingertips to press the lashes against your natural lashes. Repeat the process on the other eye.
Once your lashes are in place, you can use an eyelash curler to gently clamp your natural lashes to the falsies. This will help them blend together seamlessly. Finish with a coat of mascara to set the lashes in place, and you’re good to go!
Finishing Touches
Okay, now that we’ve got those falsies on, it’s time for the final touches. First things first, let me tell you about my favorite hack. I like to take a clean spoolie brush, dip it in some mascara and then comb it through the lashes a couple of times. This helps to blend the natural and false lashes together. Next up, I always like to apply some eyeliner to camouflage the lash band. You can use liquid liner for sharp and precise lines or a soft kohl pencil for a smokey effect. Whatever you choose, make sure to apply it as close to the lash line as possible. To give your eyes that extra pop, you could also add some shimmer eyeshadow to the inner corners. I like to use a champagne shade, it pairs really well with any eye color. And lastly, we can’t forget about the bottom lashes! If you’re going for a full glam look, you could add a coat of mascara to the bottom lashes. But if you’re like me and have sparse bottom lashes, check out this hack I found on eyelashesholic.de. They suggest using baby powder or translucent powder on the lower lashes before applying mascara. This technique adds volume and makes your bottom lashes look fuller. So there you have it, my finishing touches to complete your falsies look. Don’t forget to take a million selfies and tag me in them!
Tips for long-lasting results
Hey, beauties! Are you tired of your falsies falling off after just a few hours? Don’t worry, I’ve got you covered! Here are some tips from my personal experience on how to make your false lashes last all day:
Use a good adhesive
First things first, make sure to use a high-quality lash adhesive. A good adhesive will ensure that your falsies stay in place all day long. I highly recommend using a waterproof or long-lasting adhesive for extra staying power.
Cut your lashes to fit your eye shape
Before applying your false lashes, make sure to measure and cut them to fit your eye shape. This will ensure that they look more natural and sit comfortably on your lash line. Use tiny scissors to cut them to the desired length and shape.
Apply enough adhesive
When applying your lashes, make sure to use enough adhesive for a secure hold. However, be careful not to apply too much as it can cause the false lashes to slip or slide around on your lid. A thin, even layer of adhesive is the key to a long-lasting hold.
Set with mascara
To lock in your false lashes and give them a seamless look with your natural lashes, use mascara. Comb through your lashes with a mascara wand to blend them together and set the falsies in place. This will also help to make them look fuller and more voluminous.
Avoid touching or rubbing your eyes
Lastly, avoid touching or rubbing your eyes throughout the day. This can cause the falsies to come loose or move around on your lid. If you must touch your eyes, do so gently and avoid tugging on the lashes.
By following these tips, you’ll have stunning, long-lasting lashes that will stay in place all day. Happy lashing, lovelies!
The Wrap-Up: My Final Thoughts on False Lashes
Well, there you have it! Hopefully my tips and tricks for applying false lashes have been helpful for you. I know it can be daunting to try something new, especially when it comes to your eye makeup routine.
Personally, I think false lashes can truly elevate any makeup look. They add that extra touch of glam and make your eyes pop. And with a little practice, applying them becomes second nature.
Remember to always prepare your lashes beforehand with some mascara and a curler. And be patient when applying the lashes – it can take a few tries to get the hang of it, but trust me, it’s worth it.
If you’re concerned about the longevity of your lashes, try investing in a good quality glue and avoid touching your eyes excessively. And always make sure to remove your lashes at the end of the day to keep your natural lashes healthy.
So go ahead, give false lashes a try! You might just fall in love with the way they make your eyes look.
